Add Velo to
Shopware.
Install the Velo cookie banner and Google Consent Mode v2 on Shopware in minutes. The recommended path is one tag imported into Google Tag Manager; one line in your storefront template works just as well.
Two ways in.
Pick one.
The recommended install: one community template imported into your container. It sets the Consent Mode v2 default before any other tag fires, then loads the banner. Prefer code? Jump to the one line install.
Install through
Google Tag Manager.
One tag, no code on the page, and your whole measurement stack stays in one place. No Tag Manager yet? A GTM extension from the Shopware store, or the same base template block, lands the container — then start here.
Import the Velo CMP template
Download template.tpl from github.com/ampliodata/velo-cmp. In your container, open Templates → Tag Templates → New, then open the ⋮ menu at the top right of the editor and choose Import. Pick the file you just downloaded, save, and the Velo CMP tag is ready to configure. Velo CMP is awaiting its listing in Google’s Community Template Gallery — until it lands, importing the file is the way in, and the tag behaves identically.
Create the tag
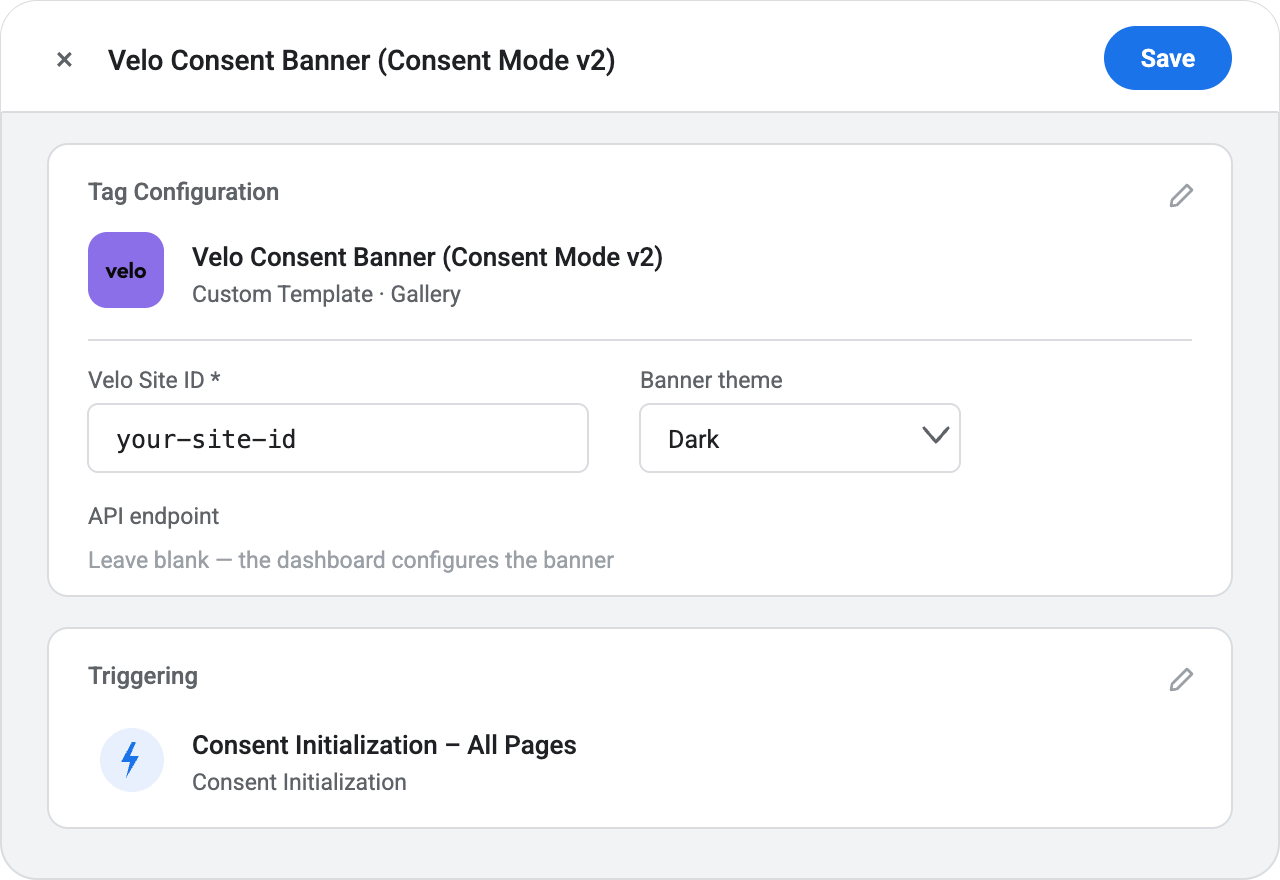
Go to Tags → New and choose the Velo template. Enter your Velo site ID — lowercase letters, digits and dashes, exactly as the dashboard shows it — and pick the light or dark theme to match your site. Leave the API endpoint blank unless Velo issued one for your account: the banner and Consent Mode work fully without it, and when it is set the dashboard's remote configuration takes over copy and categories.
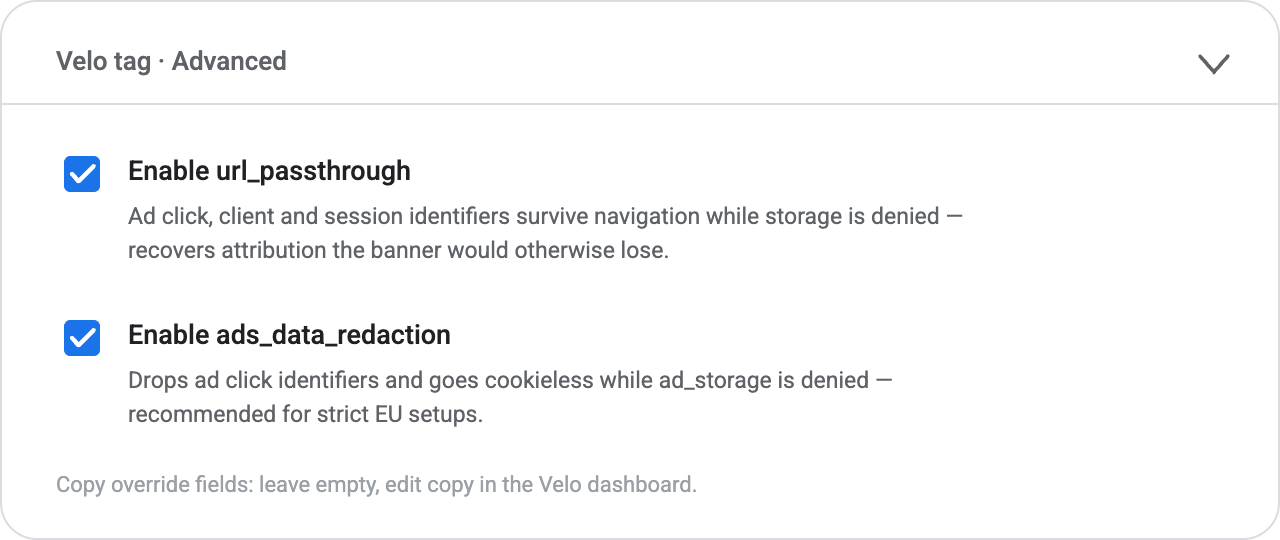
Tick the two recovery options
Under Advanced, two checkboxes are worth switching on. url_passthrough lets ad click, client and session identifiers survive navigation through URL parameters while storage consent is denied — it recovers attribution for the traffic your banner would otherwise lose. ads_data_redaction additionally drops ad click identifiers and goes cookieless on requests while ad_storage is denied — recommended for strict EU setups. The copy override fields can stay empty; prefer editing copy in the Velo dashboard.
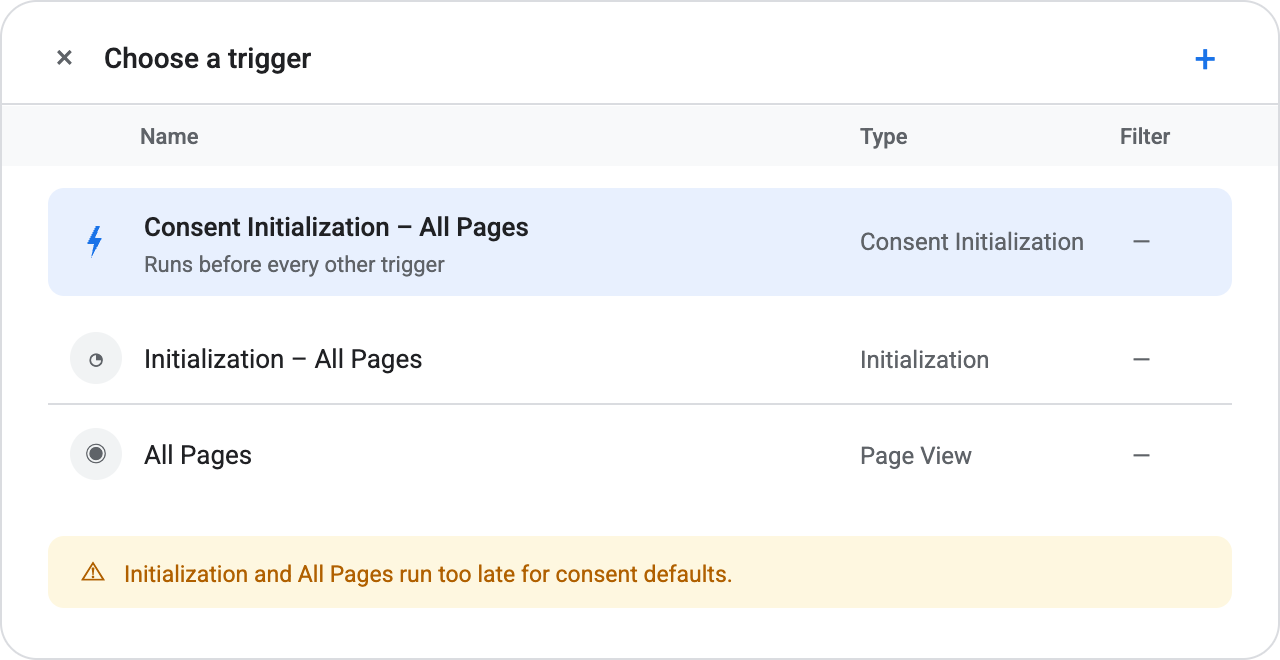
Fire it on Consent Initialization – All Pages
This is the trigger Google provides specifically for consent defaults: it runs before every other trigger in the container, which is what guarantees the denied default is in place before any measurement tag can fire. Do not use Initialization or All Pages — both run too late. This one choice is most of what a correct consent install comes down to.
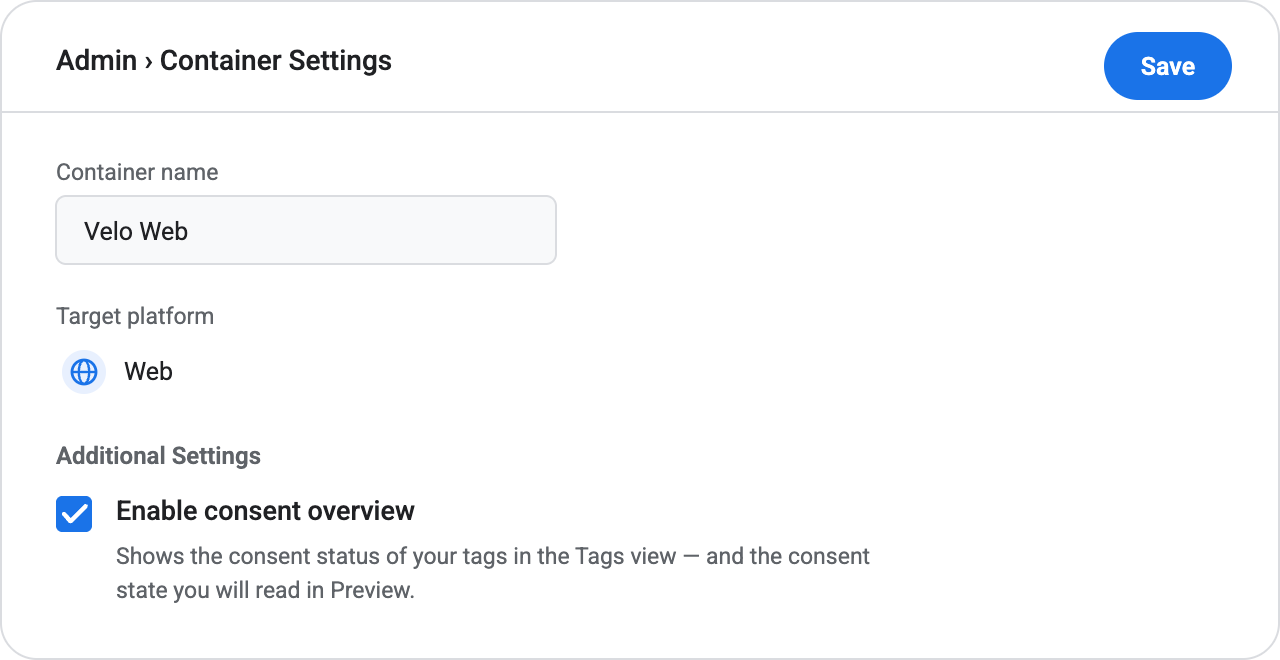
Turn on consent overview under Admin
In Admin → Container Settings, tick Enable consent overview. This switches the container’s consent features on: the shield icon in the Tags view that shows each tag’s consent status, and the consent state readings you are about to check in Preview. Do it before you open Preview — without it, GTM gives you no consent overview to debug against.
Preview, then publish
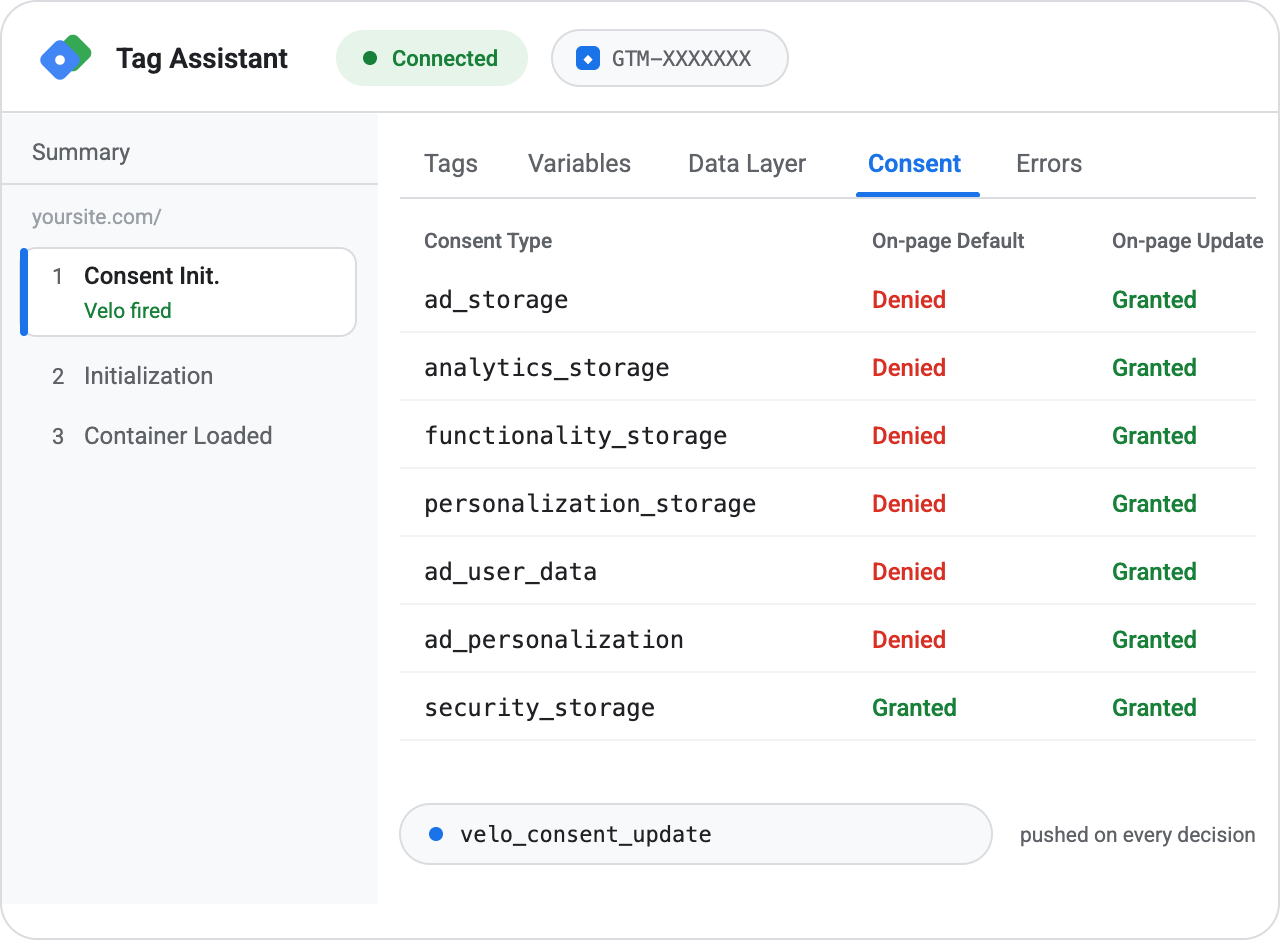
In Preview, check three things: the Velo tag fired on Consent Initialization before every other tag; the Consent tab in Tag Assistant shows every signal except security_storage denied by default from an EEA, UK or Swiss location; and accepting or declining in the banner flips the matching update row while a velo_consent_update event lands in the data layer. Then Submit → Publish. The banner is live on the next page load, and the Velo console flips to installed on its own when the first real signal arrives.
Paste one
line of code.
A direct install behaves identically to the Tag Manager install — same banner, same Consent Mode wiring, same audit log. Use whichever fits how your Shopware site is managed.
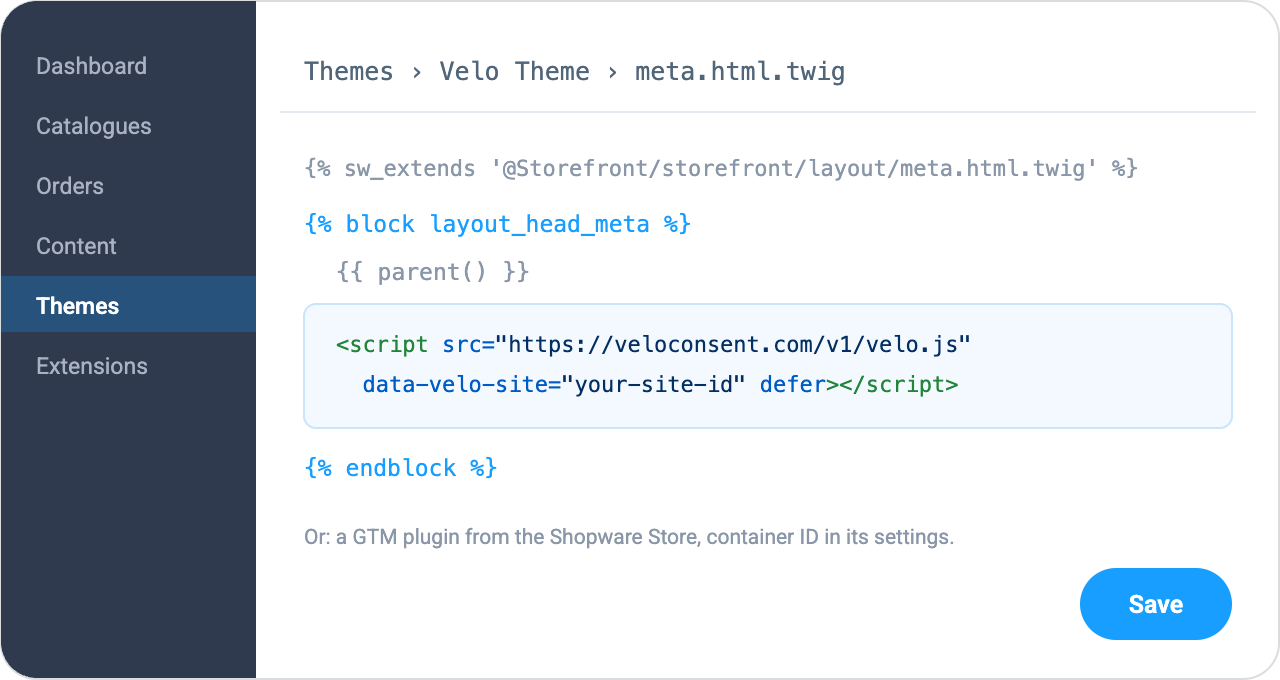
One line, before your analytics and advertising tags. It loads without blocking your page and sets the Consent Mode default first. Your site ID is in the Velo dashboard.
Add the tag to your storefront
On Shopware 6, extend the base_head block in storefront/base.html.twig from your theme and add the snippet there, or use a header injection extension from the Shopware store if you prefer no template work.
Recompile and clear the cache
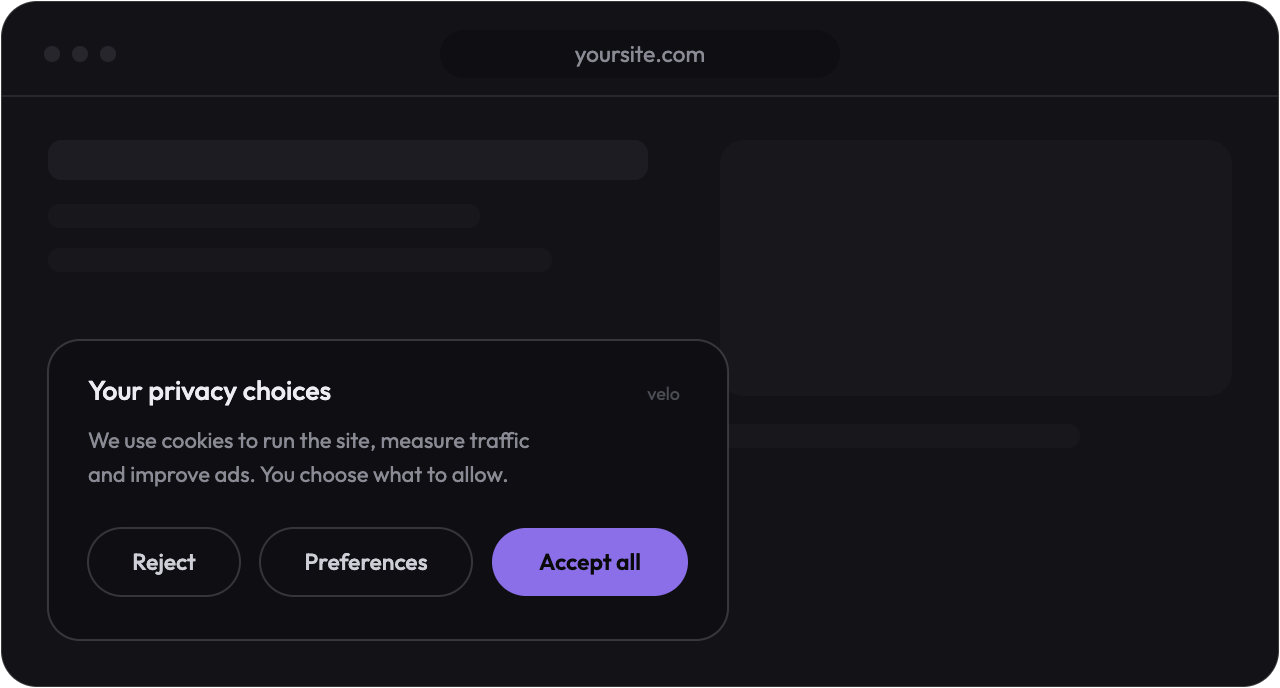
Recompile the theme and clear the cache so the storefront picks up the change. The banner renders on the next page load with the Consent Mode default set before any other tag can fire.
Then verify
from real traffic.
Whichever method you choose, the Velo console polls for the first real signal from your site — the banner loading or a decision being recorded — and flips to installed the moment one arrives. Then run the scan and set your regions.
Shopware questions,
answered.
Which Shopware version does this cover?
The steps target Shopware 6. Shopware 5 works the same way through its index template, but it has reached end of life — the Tag Manager route is the cleaner path there while you plan the upgrade.
Shopware ships its own cookie bar.
Deactivate it for the sales channel so Velo is the only consent layer running. Two banners confuse visitors, and only Velo wires the decision into Consent Mode and the audit log.
Why is the banner not showing after the edit?
Almost always the theme cache: recompile the theme and clear the cache, then hard reload. If it still does not render, confirm the snippet sits inside the base_head block your theme actually extends.
Will it slow the site down?
No. The script loads deferred, never blocks rendering, and the visitor's region is resolved at the nearest edge before the page finishes painting. The banner itself is a few kilobytes of static code.
Can an AI assistant do this for me?
Yes. Copy the prompt in Install with agents, just below, into Claude, ChatGPT, Cursor or whichever assistant you already use. It carries the steps on this page, the order the tags have to load in, and the checks the agent has to run before it tells you the job is done.
Or hand it
to an agent.
Copy the prompt below into Claude, ChatGPT, Cursor or whichever assistant you already use. It carries everything on this page — the Tag Manager route, the Shopware route, the order the tags have to load in, and the checks that prove it worked — so the agent can do the install with you and tell you exactly what it changed.
# Install Velo on Shopware — cookie banner + Google Consent Mode v2

You are installing Velo, a consent management platform, on my Shopware
site. Velo shows the cookie banner, sets the Google Consent Mode v2
defaults before any other tag can fire, and records every decision.

Ask me for these before you touch anything:

- My Velo site id — it is in the Velo dashboard. No account yet? Send me
  to https://veloconsent.com/get-started and wait for the id.
- Whether the site already runs Google Tag Manager, and which container.
- Which cookie banner or consent tool is live on the site today.

## Path A — through Google Tag Manager (preferred when GTM is live)

1. Templates → Tag Templates → New, then ⋮ → Import. Import the
   template.tpl from github.com/ampliodata/velo-cmp ("Velo CMP").
2. Create a tag from that template. Set my Velo site id and pick the
   light or dark theme.
3. Fire it on the "Consent Initialization – All Pages" trigger. Not
   Initialization, not All Pages — both run too late to set consent
   defaults.
4. Preview, check the Consent tab in Tag Assistant, then Submit and
   Publish.

No container yet? On Shopware, Shopware 6 has no GTM field in the core
admin, so most stores add a GTM plugin from the Shopware Store and paste
the container id into the plugin's sales channel settings.

## Path B — the snippet, straight into the site

Put this line in the <head>, above every analytics and advertising tag:

  <script src="https://veloconsent.com/v1/velo.js"
    data-velo-site="MY_SITE_ID" defer></script>

On Shopware: extend the base_head block in storefront/base.html.twig
from the theme and add the snippet there, or use a header injection
extension from the Shopware store to avoid template work.

## Rules

- One path, never both. Two installs means two banners.
- Velo loads first. Everything that measures or advertises comes after.
- Only one tool may set Consent Mode defaults. Deactivate Shopware's own
  cookie bar for that sales channel so Velo is the only consent layer
  running. Leave no hard coded gtag('consent', 'default', ...) anywhere
  else either.
- Change nothing beyond what this install needs. Tell me first if a theme
  file, plugin or existing tag has to be touched.

## Verify, then report back

- The banner renders on a fresh load in a private window.
- Before I choose, every consent signal except security_storage is denied
  from an EEA, UK or Swiss location.
- Accepting and rejecting each flip the matching signals, and a
  velo_consent_update event lands in the data layer.
- Google tags stay in their cookieless mode until consent is granted, and
  any tag gated by hand fires only after it.
- window.Velo is defined, and Velo.open() reopens the preferences panel.
- On a Tag Manager install, Tag Assistant shows the Velo tag firing on
  Consent Initialization ahead of every other tag.

Tell me what you changed, where you changed it, and what each check
showed. If a check fails, fix it and run the checks again.

Full guide: https://veloconsent.com/shopware
More context for agents: https://veloconsent.com/llms.txt
Working with an agent that reads the web? Point it at veloconsent.com/llms.txt and /install.md for the same context in plain text.
Compliant on Shopware.
Signal recovered.
The banner, the regions, the audit log and Consent Mode v2,
working together on your Shopware site, live in minutes.